

How to Choose Cabinet Paint Wisely
Replacing your kitchen setup can exceed $12,000, while the cost to paint cabinets vs replace often stays under $5000. However, industry experience shows that using standard materials on these high-contact surfaces leads to rapid failure. Your cabinets face steam, grease, and constant handling that ordinary wall paint simply cannot survive.
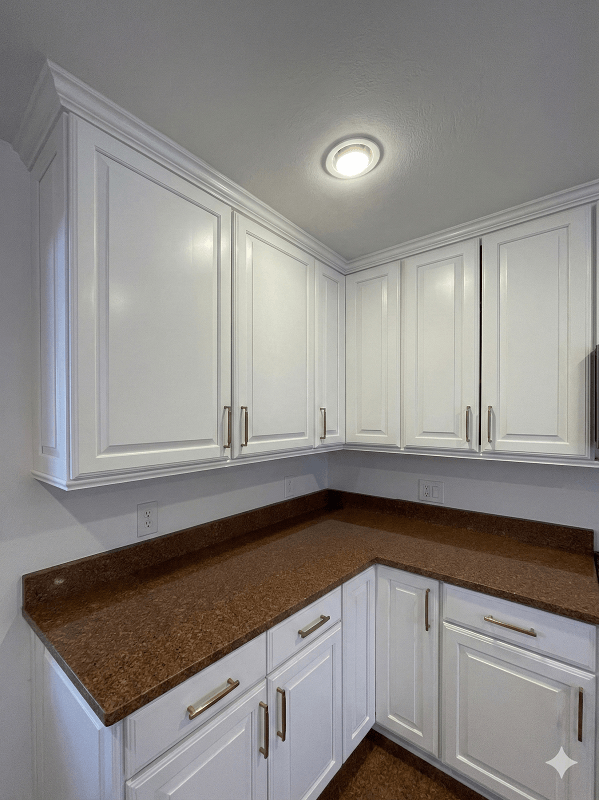
Regular latex lacks essential "blocking resistance," a feature that prevents doors from sticking to frames and peeling the finish off. Paint for kitchen cabinets must cure into a hard, non-tacky shell rather than just drying to the touch like a wall color.
How to choose cabinet paint wisely requires ignoring the color chips initially to focus on the resin type. You need a formula that balances industrial durability with a forgiving, homeowner-friendly application process.
Water, Oil, or Hybrid? Cracking the Code on Paint Labels
Most homeowners instinctively grab the same latex paint used on their living room walls, but that acts like a soft skin rather than the protective shell your kitchen needs. Cabinets require a harder "resin"—the solid material left behind after the liquid evaporates—to withstand the daily grind of banging pots and sticky fingers. While traditional oil-based paints were once the gold standard for this kind of durability, their suffocating fumes and requirement for harsh solvents like mineral spirits often make them a nightmare for indoor DIY projects.
Enter the "Urethane Alkyd Hybrid," often labeled simply as Cabinet Enamel. This formula acts like a chemical compromise, delivering the rock-hard durability of an oil finish while retaining the low odor and soap-and-water cleanup of a water-based paint. For white or light-colored cabinets, these hybrids are particularly essential because, unlike old-school oils, they resist yellowing over time, keeping your bright white kitchen from turning a dingy beige.
Perhaps the biggest advantage of these specialized enamels is a property called "self-leveling." When you apply standard wall paint, the ridges left by your brush bristles usually stay put as it dries. A self-leveling paint, however, relaxes and flows out slightly before it hardens, smoothing over those brush strokes to create a finish that looks factory-sprayed rather than hand-painted.
Here is how the three main options stack up:
- Water-Based (Acrylic): Low smell and easy cleanup, but often too soft for heavy impact.
- Oil-Based (Alkyd): Extremely durable armor, but requires hazardous solvents to clean.
- Hybrid Enamel: The sweet spot—tough protection, water cleanup, and a smooth finish.
Once you have the right chemical formula, you need to decide just how much light that finish should reflect.
Satin vs. Semi-Gloss: Picking a Finish That Survives the Kitchen
Your choice of sheen is a strategic trade-off between durability and camouflage. Think of high gloss like a mirror that reflects light but ruthlessly highlights every ding or warp in the wood, while matte acts like a chalkboard that hides flaws but traps dirt. Because kitchen surfaces face daily abuse from steam and sticky fingers, you need a finish that allows you to wipe away grease without polishing the paint right off the wood.
Finding the best sheen for kitchen cabinets usually means landing in the middle ground. When weighing a satin vs semi-gloss cabinet finish, consider your cleaning habits; semi-gloss offers a slicker barrier against grease, while satin provides a modern, soft glow that is slightly less durable. Ultimately, the best paint finish for cabinets is one that balances high "wipe-ability" with a look you enjoy, as you will likely be staring at it every day for the next decade.
If your wood is older or banged up, the best paint finish for kitchen cabinets might actually be satin, simply because it masks surface dents that a shinier finish would magnify. However, even the perfect sheen will fail if the surface beneath isn't prepared to grip it. To ensure your paint doesn't just sit on top but actually bonds to the door, you need a specific chemical anchor.
Why Bonding Primer is the Secret 'Glue' for Laminate and Wood
Many DIYers search for the best paint for kitchen cabinets without sanding, but relying solely on paint is a recipe for peeling. While you can often skip stripping the door down to bare wood, you cannot skip the "glue" that makes the new color stick. A specific bonding primer for laminate cabinets acts as a chemical anchor, biting into slick, plastic-like surfaces where standard wall primers would eventually slide off like a sticker losing its grip.
Natural wood presents a different challenge called tannin bleed, where sap and oils inside the grain seep out and stain your fresh white paint yellow. To prevent this, use a stain-blocking oil-based primer to lock these compounds inside the wood permanently. This specific barrier step ensures your choice of the best primer and paint for kitchen cabinets actually keeps them looking crisp rather than turning a dingy tea-color a few weeks later.
Friction partners with this chemical bonding, which is why the answer to "do I need to sand cabinets before painting" is almost always "just a little." You do not need to sand away the old finish entirely; you simply need to "scuff sand" with medium-grit paper to create microscopic scratches. This quick roughening disrupts the slick protective coating on existing doors, giving your bonding primer a toothy surface to hold onto for the long haul.
Verify your prep work by painting a small test patch on the back of a door and performing a scratch test with your fingernail after drying. If the primer scrapes off easily, the surface is too glossy; if it holds firm against pressure, you have achieved a mechanical bond and are ready for the topcoat. Once that color is applied, however, patience becomes your most valuable tool as the chemistry shifts from simple drying to actual hardening.
From Sticky to Solid: Navigating the 30-Day Cure Window
Many assume the project finishes when the surface feels dry to the touch, but this is actually the most dangerous time for your new finish. Paint undergoes two phases: evaporation (drying) and chemical hardening (curing). While water evaporates in hours, the resins require about 30 days to lock together into a hard shell. To prevent cabinet paint from chipping, treat your cabinets like wet cement for the first month: handle them gently and avoid scrubbing.
Achieving a smooth, professional look relies on removing invisible debris between layers. Before applying your topcoat, wipe every surface with a tack cloth—a sticky gauze that grabs dust particles a regular rag misses—to prevent gritty bumps. When determining how many coats of paint for cabinets, the standard is two thin coats. Multiple thin layers build a stronger protective film than one thick application, ensuring better color depth.
Hold off on heavy scrubbing during that cure month to ensure you are cleaning painted cabinets without damaging finish. Success starts at the store, so use this cabinet painting supplies checklist:
- Tack Cloths: Removes microscopic dust between coats.
- 2-Inch Angled Sash Brush: Essential for precise cutting-in.
- Microfiber Mini-Rollers: Creates a texture-free, smooth finish.
- Painter’s Tripods: Elevates doors to prevent sticking.
Your Action Plan: The 'In-Store' Checklist for a Wise Purchase
Demand "Urethane Hybrids" and "Bonding Primers" for a professional-grade result. You can now confidently select the best paint for kitchen cabinets that withstands real life.
Before heading to the store, verify your plan:
- Surface type identified
- Sheen selected for cleanability
- Hybrid/Water choice made
- Primer matched to surface
- Cure time planned
Finally, protect your home’s air quality by asking for low VOC cabinet paint options. Don't forget the importance of matching cabinet paint to kitchen lighting before buying gallons. Gut check: Can you survive a kitchen out of commission during the full cure time? If so, you are ready to paint.


